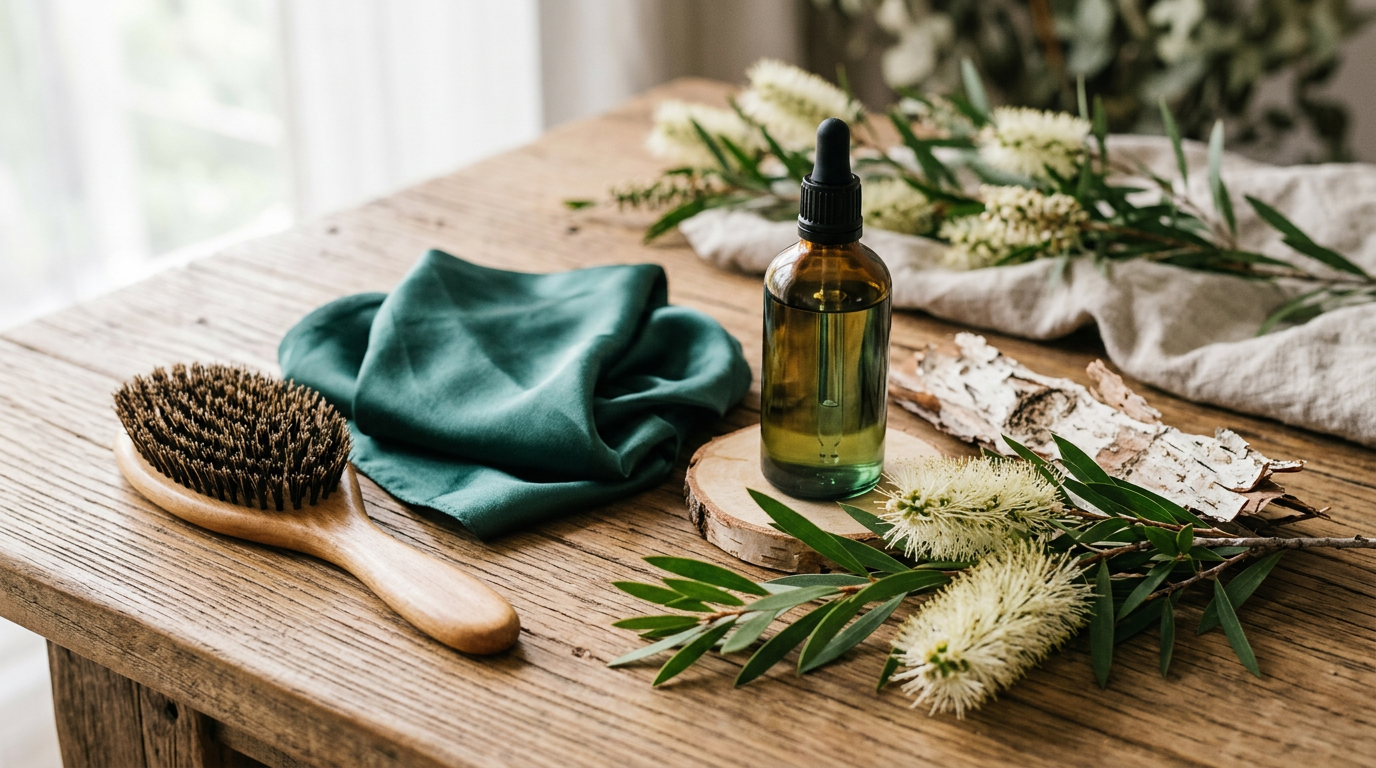
How to Blend Cajeput Oil into a Beard and Body Splash
Cajeput oil has a clean, camphoraceous scent, somewhere between eucalyptus and tea tree, with a green, slightly medicinal brightness that makes it a favorite in grooming circles. Blended into a splash, it gives a cooling snap after a shave or a shower, without the syrupy sweetness of a lot of commercial aftershaves. This guide walks through a straightforward diy cajeput aftershave you can mix at home, covering ratios, tools, and the small details that separate a splash that feels refreshing from one that stings.
Cajeput Essential Oil
Our own Cajeput Essential Oil, in sizes from 0.5 oz to bulk.
From $10.99
Shop Now →Before you start, a quick note: this article is about scent, sensation, and grooming ritual. It is not medical guidance, and nothing here is meant to diagnose or manage any condition. If you have known sensitivities to essential oils, or you're unsure how your skin will react, talk with a qualified healthcare provider before adding a new botanical to your routine.
What Is a Cajeput Body Splash, Anyway?
A body splash is essentially a lightweight, alcohol-based or witch hazel-based liquid you pat or spray onto skin after a shower or shave. Unlike a heavy cologne, it's meant to evaporate quickly, cool the skin, and leave a soft scent trail rather than a strong one. Adding cajeput oil to the mix brings that crisp, herbal top note along with the light cooling sensation many people associate with the oil's aromatic profile.
Because splashes go directly onto skin that has often just been shaved or exfoliated, dilution matters more here than it does in, say, a room diffuser blend. Essential oils are concentrated, and cajeput in particular has a brisk, penetrating aroma, so a little goes a long way.
What You'll Need
- A 4-ounce (120 ml) glass spray or splash bottle, dark amber or cobalt if you have one, since light can degrade essential oils over time
- 2 ounces (60 ml) witch hazel (alcohol-free, if you have sensitive skin) or high-proof vodka
- 2 ounces (60 ml) distilled water
- 1 teaspoon (5 ml) glycerin or a light carrier oil, such as fractionated coconut oil, to soften the feel on skin
- 8 to 12 drops cajeput essential oil (start low and adjust from there)
- Optional: 4 to 6 drops of a complementary oil, such as sweet orange, cedarwood, or lavender, to round out the scent
- A small glass measuring cup or beaker
- A stainless steel or glass stirring rod (avoid plastic, which some essential oils can degrade over time)
- Labels and a permanent marker (batch date matters more than people expect)
A note on bottles: cajeput and other essential oils can break down certain plastics over weeks of contact, so glass is worth the extra couple of dollars. If glass isn't available, a PET plastic bottle is a reasonable short-term stand-in, but don't plan on the splash sitting in it for months.
Cajeput Aftershave Splash Recipe: Step by Step
Step 1: Do a Patch Test First
Before you build a full batch, mix a tiny test version: 1 drop cajeput oil into 1 teaspoon of your chosen carrier (witch hazel or a light oil). Apply a small dab to the inside of your forearm and leave it uncovered for 24 to 48 hours, checking periodically. If your skin looks or feels different in any way you don't like, don't proceed with the full recipe. This step feels tedious, but it's the single most important one in the whole process, especially for a splash you'll be applying to freshly shaved skin.
Step 2: Sanitize Your Tools and Bottle
Wash the spray bottle, measuring cup, and stirring rod in hot, soapy water, then rinse well and let them air dry completely. Any leftover water droplets will dilute your ratios and can shorten how long the finished splash stays fresh. A quick rinse with a small amount of high-proof alcohol, then a full air-dry, is an easy way to make sure everything starts clean.
Step 3: Measure Your Liquid Base
Pour the witch hazel (or vodka) and distilled water into your glass measuring cup. The alcohol or witch hazel acts as a light solvent, helping the essential oil disperse more evenly through the water instead of just floating on top as separate droplets. Stir briefly with your glass or steel rod.
Step 4: Add the Glycerin or Carrier Oil
Stir in the teaspoon of glycerin or carrier oil. This small addition softens the feel of the splash on skin, since straight witch hazel and water alone can feel a bit thin and drying, especially right after shaving. Glycerin also helps carry scent a little longer without making the splash heavy or greasy.
Step 5: Add the Cajeput Oil, a Few Drops at a Time
Start with 8 drops of cajeput oil for a 4-ounce batch, which lands at roughly a 1 percent dilution, a comfortable starting point for a leave-on skin product. Stir after each addition and pause to smell the mix. Cajeput's aroma is strong and can seem overpowering straight out of the bottle, but it mellows once blended and diluted. Add up to 4 more drops only if the scent still feels faint to you once it's fully mixed in.
Step 6: Layer In a Complementary Note (Optional)
If you'd like more depth than cajeput alone offers, add 4 to 6 drops of a second oil. Sweet orange softens the edge and adds warmth, cedarwood grounds the blend with a woody base, and lavender adds a calming, floral undertone that plays surprisingly well against cajeput's brightness. Stir well between each addition so you can judge the blend honestly rather than guessing.
Step 7: Transfer to Your Bottle and Label It
Using a small funnel if you have one, pour the finished blend into your glass spray or splash bottle. Cap it tightly and shake gently to combine anything that settled during the transfer. Label the bottle with the date and the ingredients, including the essential oil percentage if you calculated one. This matters more than it sounds like it would: three months from now, you will not remember whether this was the 1 percent or 2 percent batch.
Step 8: Let It Rest for 24 Hours
Set the bottle aside, away from direct sunlight, for at least a day before using it. This resting period, sometimes called "maturation" among home blenders, lets the oil and liquid base settle into each other more fully, which tends to smooth out the scent so it reads less sharp and more rounded on skin.
Step 9: Shake Before Every Use
Because essential oil and water-based liquids naturally separate over time, give the bottle a firm shake before each use. Spray or pat a small amount onto clean, dry skin after your shower or shave, focusing on the neck, jaw, chest, or wherever you'd normally apply an aftershave.
Tips for a Better Batch
- Keep your total essential oil dilution between 1 and 2 percent for a leave-on splash. More concentrated is not better here; it just raises the odds of skin irritation.
- Store the finished splash in a cool, dark cabinet rather than a steamy bathroom shelf, since heat and humidity shorten its shelf life.
- Make small batches (4 ounces or less) rather than a big jug. A fresh small batch every few weeks smells better than a large one that's been sitting for months.
- If you plan to apply the splash right after shaving, let your skin calm down for a couple of minutes first. Applying any alcohol-based splash to skin that's still freshly nicked or razor-burned will sting regardless of what oil is in it.
- Write the batch date on the label every single time. It's a two-second habit that saves guesswork later.
Common Mistakes to Avoid
- Skipping the patch test. It's the step people cut when they're excited to use a new blend, and it's the one that matters most.
- Using too much essential oil. A splash going straight onto skin needs a lighter hand than a room spray or a candle blend. If your first batch smells overwhelming from across the room, it's too concentrated.
- Choosing a low-proof alcohol. Beer, wine, or low-proof spirits don't disperse essential oils well and can leave the blend smelling off. Stick with witch hazel or a high-proof neutral spirit.
- Forgetting to shake before use. A splash that's been sitting for a week will have the oil floating separately from the water layer, so the first spritz can come out much stronger than intended.
- Storing it in a hot, humid bathroom. Heat speeds up the breakdown of essential oil compounds, so a splash kept on a steamy shower shelf won't hold its scent as long as one kept in a linen closet or medicine cabinet away from direct heat.
- Applying it to broken or freshly irritated skin. Give any nicks a little time to settle before spraying anything with alcohol in it nearby.
What to Expect
A well-balanced cajeput body splash tends to deliver a light, cooling sensation on application, along with a crisp, green scent that fades to something softer within an hour or two. People who enjoy this kind of grooming diy often describe the feel as bracing rather than heavy, which is part of why cajeput shows up in aftershave blends in the first place. Some people report that the cooling sensation feels especially welcome on a warm day or after a workout, though individual experiences vary and scent perception is subjective from one person to the next.
As with any home-blended skin product, results depend on your skin type, the freshness of your oils, and how closely you followed the dilution guidelines above. This is a grooming and aromatic project, not a solution for any skin concern, so keep expectations centered on scent and sensation rather than anything more.
Variations to Try Once You've Got the Basics Down
Once your first batch feels right, this how to make cajeput body splash approach as a base for a few easy variations:
- Citrus-forward: swap the optional second oil for bergamot or grapefruit for a brighter, more daytime feel.
- Woodsy evening blend: pair cajeput with cedarwood and a single drop of black pepper oil for something warmer, better suited to cooler months.
- Aloe-based version: replace the water portion with aloe vera juice (not gel) for a slightly more soothing-feeling texture on freshly shaved skin.
However you build it, the fundamentals stay the same: a modest dilution, a patch test before committing to a full batch, fresh small-batch mixing, and a bottle labeled clearly enough that future you knows exactly what's inside. That's really the whole cajeput oil grooming diy in a nutshell, simple ingredients, careful ratios, and a little patience while the blend rests before that first real use.